Read our new post on Magora blog and find out how to create images for your blog in 3 easy steps
Today I’d like to share a couple of tips on how to create beautiful, unique images for your blog posts. There are three major problems that you may experience when creating pictures:
- Adhering to a standard image size for all your posts;
- Making all the elements look good and well balanced;
- Not violating copyright.
There are two instruments that help me solve these problems: free photo repositories and online image editors.
Did you know that almost every image you find on the internet is copyrighted? When you find a perfect image you want to use for your new blog post in Google search results, it most likely belongs to someone. And even if you alter it in a photo editor, it doesn’t grant you rights to use the picture.
So what’s the solution? How do I get cool images for my blog?
Well, there are two ways to get great images legally:
- Use images free from copyright restrictions, for example CC0 or Creative Commons Zero images;
- Create them from scratch with simple graphic design software.
Where Do I Look for Legal Images?
There are many online resources that publish photos and images that you can copy, edit and distribute for any purpose for free without giving attribution to its authors. Such image databases usually publish new photos every week. Here are some of them:
- Unsplash.com is one of the most popular websites with high-resolution photos;
- Another worthy resource is Gratisography, which has its own specific style in case you need some viral images;
- StartupStockPhotos is great for tech blogs, as there are lots of startupy images with laptops, smartphones and moleskines.
However, there is an obvious downside to using images from these websites without serious modifications. Due to their availability, they are frequently used in blogs, social media and other web sources. So if you want to stay ahead of the curve, you need to customise these photos. There are many online photo editing tools, but the one that the Magora marketing team loves the most is Canva.com - its basic functionality is free, the interface is intuitive and the images that you get are just superb. Now that’s taken care of, let's not waste any more time and try to create a featured image for a blog post.
How to Create a Perfect Image on Canva.com
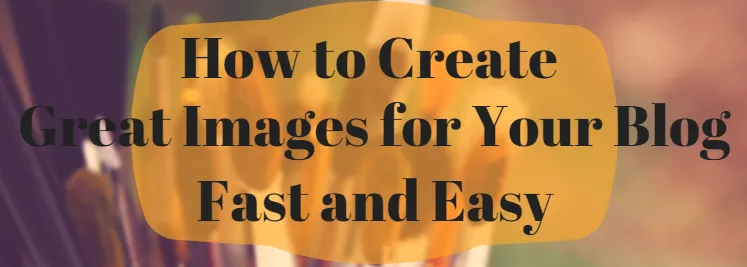
For our first try, let’s create something which is quite simple, yet appealing. Let's try to recreate the image I’ve made specifically for this post - you can see it in the header.
If you’re not sure about the size of the images you use on your blog, press F12 in your Google Chrome browser when you are on the page which features the post image and check its size in the element's code.

Now you can register in Canva. First of all, you need to set the custom dimensions that you use on your blog. In my case it’s 734 x 266 px.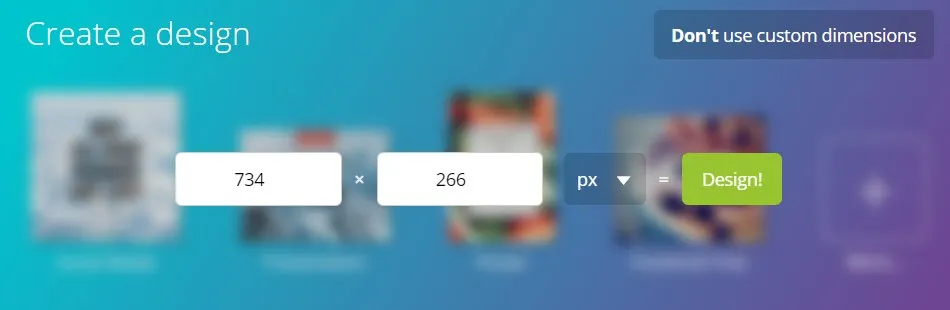
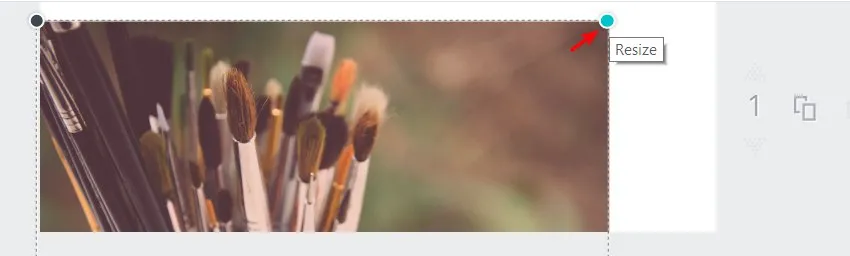
I’ve found a pic that I want to use as a background for my blog post image on Unsplash, so now all I have to do is upload it to Canva and get started editing it. Once you’ve set your custom dimensions, you don’t need to crop the image in Photoshop to adjust its size, which really saves a lot of time. Simply select the image and stretch it so that it fills the entire canva.
Then, go to the “Filter” section and add a touch of colour to the image. I like the filter called “Festive”; it’s rather contrastive and cheerful looking, but you can choose any other.
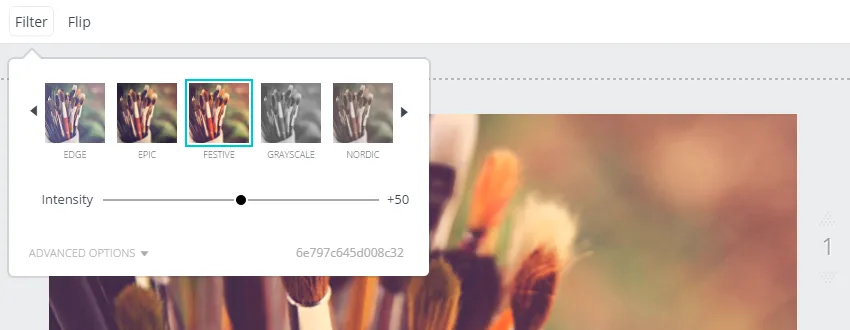
Now, go to the advanced options and play around with the blur setting, changing it to anything between +5 and +25 to soften the background image so that the text you add looks more natural against it.
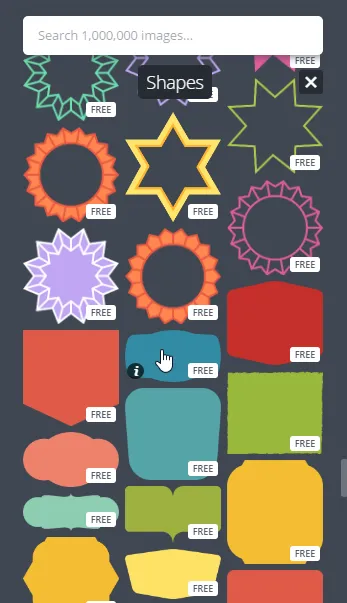
Then it’s time to choose the frame for the text that you will add to the image. Go to the “Elements” > “Shapes” section and choose the one that you like. I’m going to use a blue shape with rounded corners.
When you clink on the shape, it instantly appears on top of your image.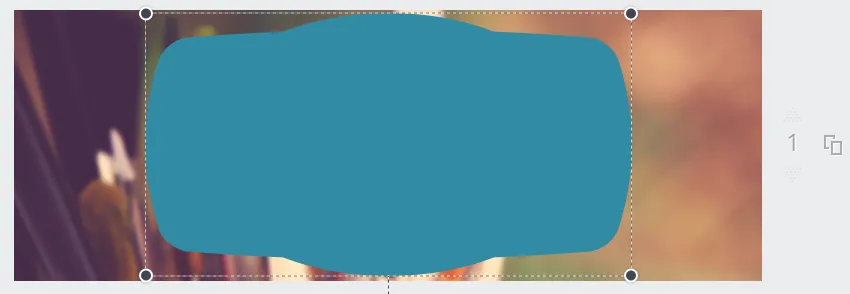
As you can see, it’s far from perfect. First of all, let’s choose another colour because blue doesn’t fit here. Go to the colour palette and pick the colour you like. I’m going for orange.
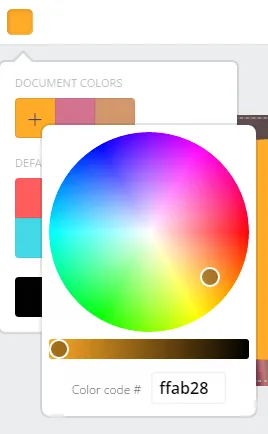
Looks better now, doesn’t it? But you still can’t see the picture behind the shape. Head to the transparency setting and play with the slider, making the shape more transparent. 
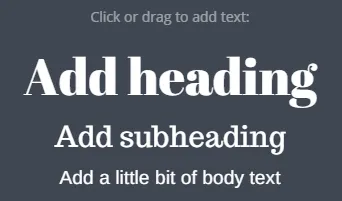
Now we have the background and the text field, but no text. Let’s fix that. Switch to the “Text” tab on the left and choose the “Add heading” option.
Picking the font of the text that will go inside the picture requires a lot of practice - I would even say that it is an art in itself.
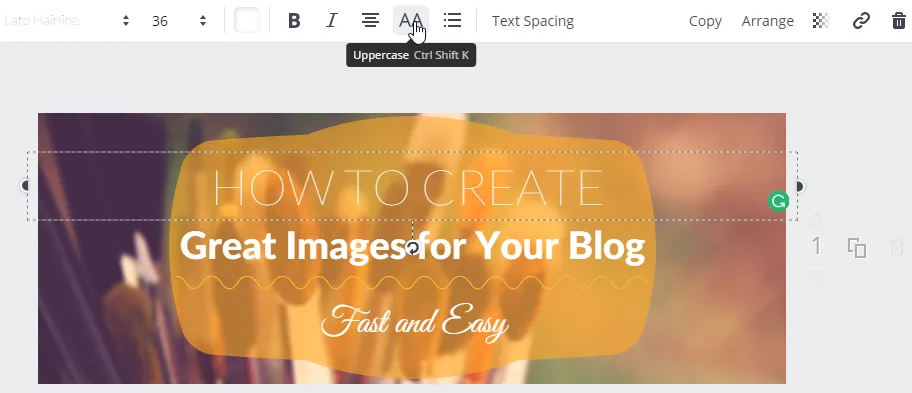
To make your heading look neat and stylish, you need to create a separate box for every line. This way you’ll be able to use different fonts and sizes for each line. The headline of my article is “How to Create Great Images for Your Blog Quickly and Easily”. I’ll cut it into three lines of text.
Looks messy, doesn’t it? Let’s change the colour of the text to white - it’s the safest choice, as white looks great on almost everything. Then try different font sizes to find the right proportions.
Experimenting with fonts, I’ve noticed that Lato Hairline and Lato Heavy work great in combination. To spice it up, I’ve chosen the font Great Vibes that looks like handwriting for the third line.

I also want to add an element to separate the third line from the previous ones. Go back to the “Elements” tab and choose “Lines” to separate the two parts of the text. I like the one that looks like a wave. Add it to the image, then adjust the colour and size.

Almost perfect. Can you find one difference in the way the heading looks in the article’s picture and the one we are creating right now? Yes, the first line is capitalised. Don’t worry, you can do this in just one click:
Simple as that! All that’s left to do is download the image and attach it to the article.
Creating great images for your blog posts takes time, but once you know your way around Canva or a similar tool, you’ll be able to create almost anything.
Do you have any questions about image editing tools or any other IT-related topic? Just drop us a line - Magora’s experts will be happy to help.

Alexander Bessudnov
Alexander is an accomplished Chief Product Owner with a proven track record of leading successful product development initiatives at Magora. With a passion for innovation and a keen understanding of market trends, Alexander plays a pivotal role in shaping Magora's product strategy and ensuring the delivery of cutting-edge solutions to clients.
LinkedIn